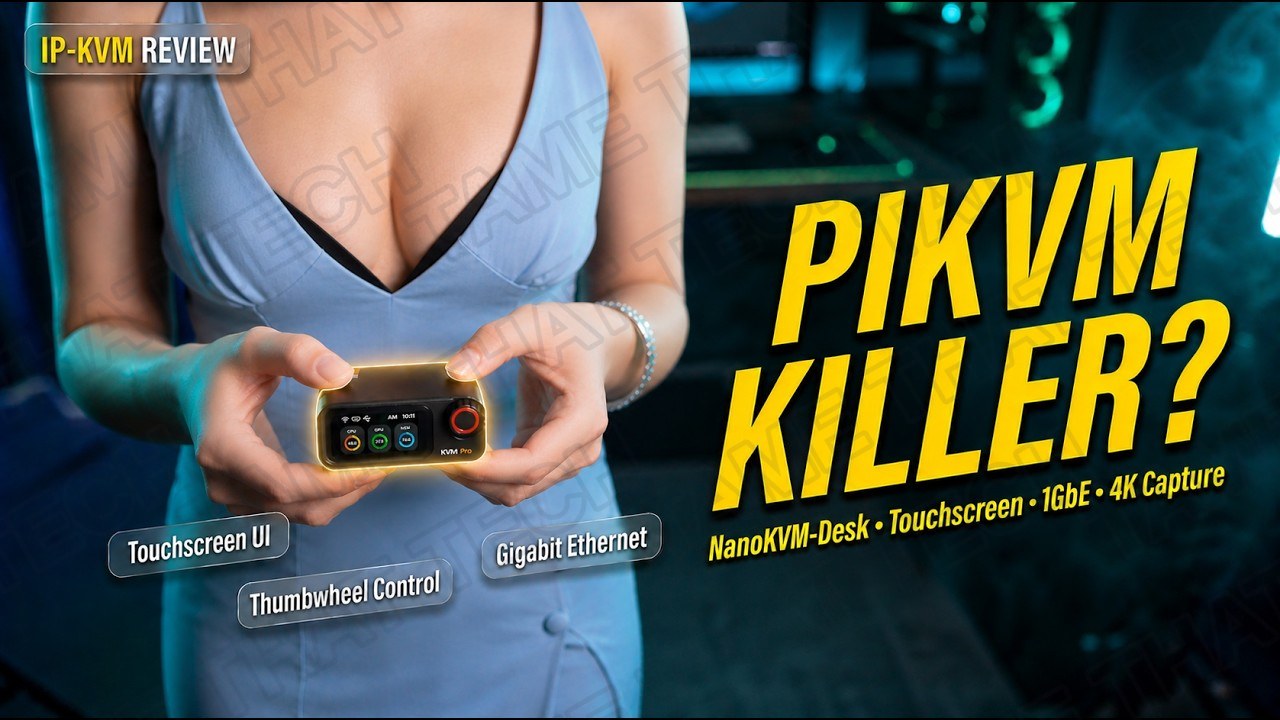
NanoKVM-Desk Pro Review: Tiny IP-KVM, 1GbE, Touchscreen, ATX Control — Worth It?
Today we’re taking a close, no-nonsense look at the NanoKVM-Desk Pro — the compact KVM-over-IP gadget that promises full remote BIOS access, remote power control, and a tiny local display, all for a surprisingly small price. We’ll cover setup, day-to-day use, the quirks the community is talking about, and who this thing is actually for.
Short version: for remote administration it performs as advertised — with a couple of driver-signing gotchas on Windows you should know about before you buy.
TL;DR — The 10-second verdict
| What it is | A desktop KVM-over-IP device (Sipeed AX630C SoC, 1 GB LPDDR4X, 32 GB eMMC) with HDMI in/loopout, 1.47” touchscreen, 1GbE, and ATX control options |
| Who it’s for | Homelabbers and IT admins who need remote BIOS access, OS installs, and power control without opening ports |
| The headline | Full remote KVM with virtual ISO, serial, ATX power control, Tailscale, and even AI tool-use — for a fraction of enterprise IP-KVM prices |
| The catch | The Windows USB secondary-screen driver is often unsigned (Secure Boot fight); large ISO uploads are slow; boot quirks on some hardware |
| Our take | A genuinely useful admin tool for its price — prefer the web UI / Tailscale for remote work and sidestep the Windows driver entirely |
| Where To Buy (Affiliate Links) | Amazon · Mavely · JoyLink |
| Video Review | YouTube |
What It Is
The NanoKVM-Desk Pro is the desktop variant of the NanoKVM family. Inside you get an AX630C SoC with dual Cortex-A53 cores, 1 GB of LPDDR4X memory, and 32 GB of eMMC storage. Video capture is done through HDMI input with an HDMI output loopout for passthrough — typical capture profiles are 4K @ 30 fps or 2K @ 60 fps, depending on firmware and host compatibility.
On the outside: a 1.47-inch capacitive touchscreen, a stepless rotary knob for local control, 1 GbE, USB-C ports for HID and data, a micro-SD slot, and options like PoE or Wi-Fi 6 on some SKUs.
Setup & User Experience
Setup is straightforward: power it with USB-C or PoE, plug the host’s HDMI into the IN port, loop the OUT to a local monitor if you want passthrough, and connect Ethernet. The web UI is the main control surface: live KVM stream, virtual ISO mounting, serial terminal, and power controls (if you add the optional ATX control board).
Two setup notes that matter:
- Change the default admin credentials immediately — do not skip this.
- Some units ship with unclear USB-C port labeling — keep the manual handy for first setup.
One of the cleanest KVM web interfaces we’ve used: you can control the host’s resolution and tweak the video stream quality right from the firmware web UI. And if you prefer the PiKVM interface, you can switch between NanoKVM and PiKVM OS in the menus — your Wi-Fi settings and username/password stay intact across the switch. Just note the PiKVM OS won’t support the local screen or the AI/LED features.
Features That Matter
- Remote KVM: pro-class hardware encoding keeps latency low — expect roughly 50–100 ms on a well-conditioned network. Perfectly fine for BIOS navigation, OS installs, and command-line work; not for gaming.
- Virtual ISO & file transfer: supported, but web UI uploads can be slow — transfer images over SFTP, copy them to a micro-SD card, or use the device’s mass-storage mode when firmware supports it.
- USB emulation: the Desk exposes a virtual HID device for keyboard and mouse; some firmware builds also provide virtual mass-storage and RNDIS networking over USB.
- Local screen & apps: the 1.47” display plus a small Python app framework lets you build basic status widgets using the framebuffer at
/dev/fb0. - Tailscale: many firmware builds include Tailscale for secure remote access without opening ports — convenient, though on the 1 GB Desk you should monitor it (lower-memory variants have been less stable).
- LED strip sync: the device can power an LED strip that lights up in coordination with the monitor color — fun, but make sure your power supply has enough juice.
- AI inference tool use: the headline party trick — connect an AI agent and let it interact with the computer using the video feed only. Great for automations where command line isn’t possible; the video feed’s FPS/resolution limits make it best for lighter tasks.
Community Concerns & Fixes
The biggest complaint in community threads is the Windows driver situation for the USB secondary screen and some USB features. The driver is often unsigned, so systems with Secure Boot enabled will refuse to load it without disabling Secure Boot or using test-signing mode.
Practical, safer options:
- Use a Linux or Mac host when possible — the virtual display and USB functions are often plug-and-play or easier to manage there.
- Temporarily disable Secure Boot in UEFI to install the driver, then re-enable it once installed.
- Use Windows test-signing mode briefly (
bcdedit /set test-signing on, reboot, install, then revert withoff) — only if you understand the security trade-offs.
Pro tip: if you rely on the device for true remote administration, prefer the web UI KVM stream or Tailscale access instead of the Windows secondary-screen driver when possible — it avoids the driver-signing fight entirely.
Other quirks to know: not every GPU or motherboard behaves perfectly when the device is connected during boot (display negotiation quirks on specific hardware), and large ISO uploads take time — plan accordingly for remote installs.
The bottom line
The NanoKVM-Desk Pro performs as advertised for administrative tasks — hardware encoding plus gigabit networking gives smooth updates and acceptable latency for BIOS navigation and OS installs on most systems. It’s one of the best-value IP-KVM devices around for homelabbers and admins, as long as you lean on the web UI and Tailscale and know the Windows driver caveats going in.
— Tame That Tech Minion
Discussion